
Winter hiking, backpacking, and camping in snow and mountainous terrain requires additional skills and experience that are hard to come by unless you do it and make a few mistakes along the way. I was fortunate to have some excellent mentors who taught me the basics and I picked up more by experimenting with different tools and techniques to fill out my skill set. Here are 10 MORE hacks, tips, and tricks that you can try the next time you get out in winter conditions to see if they work for you. If you missed the first set of 10 Winter Hiking and Backpacking Hacks, be sure to read them also.
1. Bring boil-in-a-bag frozen dinners on overnight trips.
Store-bought or made at home, bring frozen boil-in-a-bag meals on winter trips so you can eat real food instead of freeze-dried mush. To heat them up, just throw them in the same pot that you're using to melt snow for drinking water. You don't have to worry about refrigeration in winter, so you can bring foods that wouldn't normally carry the rest of the year. For example, pulled pork, beef stew, Fettuccine Alfredo…the richer, the better.

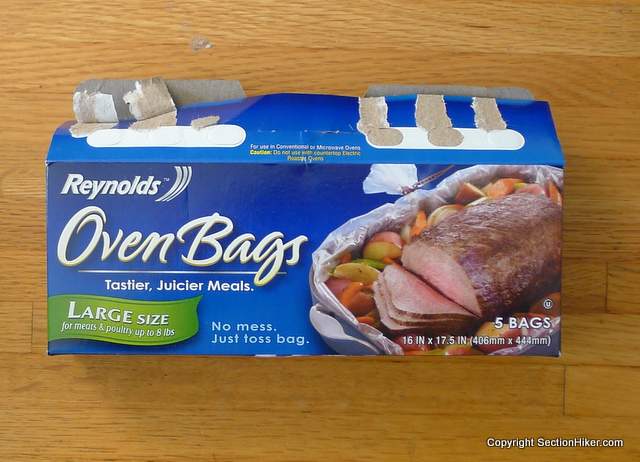
2. Wear oven roasting bags on your feet to keep your socks and boots dry.
Your feet sweat about a 1/2 cup a day of perspiration when you hike. This make your socks damp in winter which can lead to cold feet and wet boots. It's worse if you camp out, because your boots and/or boot liners will freeze overnight unless you sleep with them. Putting on frozen boots the next morning is worse than bad. You can prevent perspiration from wetting the interior of your boots by wearing oven roasting bags over your bare feet or your socks. Spraying or applying antiperspirant gel to your feet before you put on your socks also helps cut down on foot perspiration, if the thought of wearing oven bags is too extreme for you.
3. Wear rain pants or insulated pants with full length side zippers so you can put them on and take them off without taking off your boots.
It's important to bring some kind of windproof and waterproof outer pants layer on winter hikes, so you can put them on over the pants you're wearing when they're needed. Inexpensive rain pants like Marmot's Precip Full Zip Rain Pants have zippers that run the length of the pant legs, so you can vent them while walking, and put them on or remove them without having to taking off your boots. That's a big deal in winter because you don't want to stop for very long to avoid getting chilled and taking of your boots anywhere outside a tent is usually a bad idea.

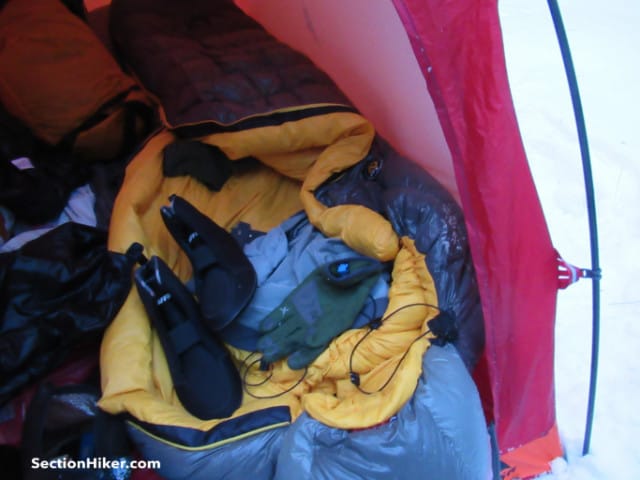
4. Sleep with your wet gloves, hats, and boot liners in your sleeping bag.
Moisture management is one of the biggest challenges of winter backpacking, especially when it comes to gloves, hats, and boots. You need to dry them at night, even when it's freezing outside. The only good way to do this is to sleep with them in your sleeping bag. True, it will add moisture to your bag's insulation, but if you're just out for one or two nights, that's unlikely to affect you much. While it's tempting to kick them down to the foot end of your sleeping bag, they'll dry much faster and more thoroughly if they're positioned closer to your torso since it releases more warmth than your feet. Drape damp gloves and hats over your belly or shoulders and sleep with your boot liners by your sides. I also like to sleep with my softshell pants, so they're not freezing when I put them on the next morning.
5. Camp near running water so you don't have to spend hours melting snow.
It takes a little planning, but if you can camp near running water, you might be able to get water without having to melt it. You'll still need to filter or purify it, but this can be a big time saver and eliminate hours of outdoor snow-melting. Be sure to bring a shovel or ice axe to break any snow and ice cover, if necessary.

5. Pie tins make good stove stands for white gas stoves
When melting snow with a powerful white gas stove, you want a stove stand that will reflect heat up toward the stove and not sink into the snow it's resting on. Aluminum pie tins make good stove stands for this and are easy to pack in your backpack. They're also easy to bend back into shape if they get a little bent up in the process.
6. Load snacks into a 16 oz Nalgene so you can snack on the move.
Fill up a small wide-mouth bottle with gorp and attach it to your shoulder strap, so you can snack while you're hiking or snowshoeing without having to stop. You expend more calories when winter hiking than you can eat in three square meals, so it pays to stoke your boiler while you're on the move. Gorp or nuts are good because they won't freeze together in the bottle, they're highly caloric, and they're rich in fats which won't make you feel jumpy or sleepy the way that a lot of sweets can.

7. Aluminum crampons are significantly lighter weight than steel ones.
While aluminum crampons are less durable than ones made from steel, they're also significantly lighter weight. If you only use then to walk on packed snow and ice, you can get several seasons out of them. If you're trying to shed gear weight, and you need full crampons, this is low hanging fruit. For example, the steel CAMP USA Stalker Universal Crampon (the most popular crampon sold by REI) weighs 940 grams, while the aluminum CAMP USA 490 XLC Crampon (shown below) weigh 585 grams. That's a 12.5 ounce weight savings, and makes a big difference in your pack and on your feet.

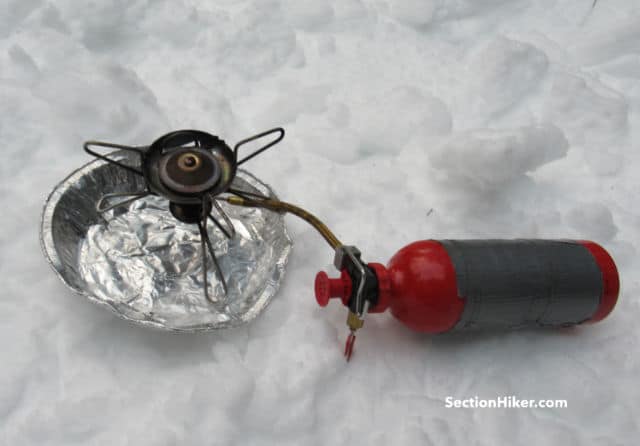
8. Place isobutane gas canisters in a saucer of hot water in cold temperatures.
Upright isobutane gas stove canisters won't ignite between 15- 20 degrees (F) outside because the gas is too cold to vaporize. While you can warm the canister by keeping it inside your coat, burning the gas will generate a layer of frost on the outside of the canister and cool the contents down again. You can fool the canister into thinking it's hot outside by placing it in a shallow dish of hot water, which will keep it going full blast. This is useful if you need to melt a lot of snow for drinking water. Be sure to periodically refresh the hot water to keep the charade going. A plastic frozen dinner dish makes a good water dish because it's lightweight and easy to pack in a backpack.

9. Wear Neoprene Overmitts over your trekking pole handles. Your hands will stay much warmer and you'll use fewer pairs of gloves.
If you use trekking poles, you can cover the handles with Neoprene pogies (overmitts) like the ones that cyclists and kayakers use in winter. They create a warm and windproof micro-climate inside so you can use them with lightweight wool or fleece gloves, even on frigid cold days. You'll wet out far fewer pairs of gloves during the course of a day and your hands will stay comfortably warm. Barmitts is a good brand to use with trekking poles that have conventional handles. (I recommend the bike gloves linked here, rather than the XC/Snowshoeing Mitts they make which are smaller and capture less heat.) You'll be amazed. They're great for winter mountain biking too.

10. Point your ice axe so that the pick is facing away from your hip, so it won't puncture your leg if you fall.
The sharp pointy end of ice axe can do serious damage to your leg if your hip falls on the pick end and not the adze. Whenever you attach an axe to your backpack, point the pick towards the front and center of the pack and not towards the side and fleshy parts of your body.

Those are just a few more of the winter hiking hacks that I've picked up over the years. If you haven't seen the first post in this series, be sure to read 10 Winter Hiking and Backpacking Hacks too.
Editor's note: Help support this site by making your next gear purchase through one of the links above. Click a link, buy what you need, and the seller will contribute a portion of the purchase price to support SectionHiker's unsponsored gear reviews, articles, and hiking guides.The post 10 More Winter Hiking and Backpacking Hacks appeared first on Section Hikers Backpacking Blog.
from Section Hikers Backpacking Blog http://bit.ly/2E6Mq9m
No comments:
Post a Comment